Healthy Buttermilk Syrup (WFPB, Vegan-Friendly, Refined Sugar-Free)
A Healthier Buttermilk Syrup You’ll Love
I have a major soft spot for buttermilk syrup. I remember the first time I tried it at an overnight church campout during college. That creamy, rich, sweet drizzle was the best syrup I had ever tried, and I couldn’t believe I had never had it before! I soon learned how to make it, and it became my go to whenever I wanted to have a “fancy breakfast.” But as I became more mindful about the ingredients I use and shifted toward a more plant-forward way of eating, I couldn’t help but look for a version that felt better in my body.
Traditional buttermilk syrup is usually made with butter and sugar—lots of it. And while it tastes amazing, I knew there had to be a way to enjoy that same flavor without all the saturated fat and refined sweeteners.
This recipe was actually one of the first I ever created myself, and I still remember the feeling of pure shock when I tasted it. I thought, “Wait… this worked? It actually tastes like buttermilk syrup?!” It was creamy, warm, tangy-sweet, and so close to the original, I couldn’t believe it was made with dates and plant milk.
It’s still a go-to in our home—and with a vegan option and fun flavor twist, it’s one of those recipes I get excited to share with others.
Healthy Buttermilk Syrup (No Refined Sugar or Butter!)
Yields: About 1¼ cups
Prep Time: 10 minutes
Cook Time: 5 minutes
Total Time: 15 minutes
Ingredients:
- 1 cup cashew milk (or any plant-based milk)
- 1 tablespoon apple cider vinegar
- 8 Medjool dates, pitted
- ¼ cup honey (or use agave or maple syrup for a vegan version)
- 1 teaspoon baking soda
- 1 teaspoon vanilla extract
Instructions:
- Make the “buttermilk”:
In a blender, combine the cashew milk and apple cider vinegar. Let it sit for 10 minutes to curdle slightly—this creates a dairy-free “buttermilk.” - Blend the base:
Add the pitted dates to the blender and blend on high speed until the mixture is smooth and creamy. - Cook the syrup:
Pour the blended mixture into a small saucepan. Stir in the honey (or vegan alternative). Heat over medium until it comes to a rolling boil. - Boil briefly:
Once boiling, continue to boil for 1 minute, stirring constantly to prevent burning. - Finish it off:
Turn off the heat and whisk in the baking soda and vanilla extract. The syrup will bubble up—this is normal! Whisk until smooth and fully combined. - Cool and serve:
Let the syrup cool slightly before serving. It will thicken more as it cools. Store leftovers in a sealed jar in the fridge for up to 1 week.
Notes, Tips & Variations:
- Vegan option: Use agave nectar or maple syrup instead of honey.
- Nut-free? Use oat milk or rice milk in place of cashew milk.
- No cashew milk? Any creamy plant milk will work—soy, oat, or almond are great choices.
- Too thick after chilling? Add a splash of hot water or warm plant milk and stir to loosen.
- Flavor twist – coconut extract:
Flavor twist – coconut extract:
One time I ran out of vanilla and used 1 full teaspoon of coconut extract instead—and I was shocked at how good it was! It gave the syrup a strong, tropical flavor that paired beautifully with pancakes and waffles. If you’re a coconut lover, you might even prefer it this way. For a subtler version, start with ¼ to ½ teaspoon and adjust to taste.
How to Use This Syrup:
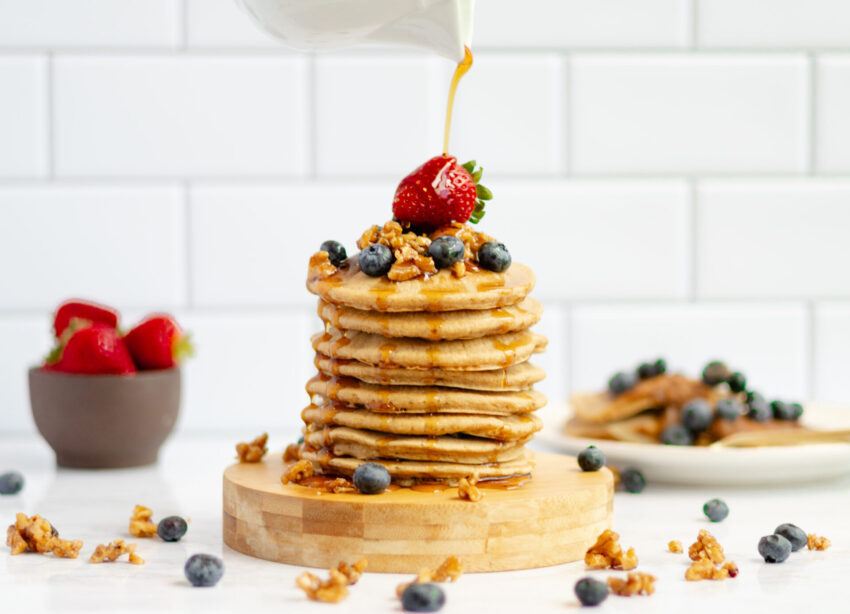
- Drizzle over pancakes, waffles, French toast, or crepes
- Check out my Sourdough Discard Pancakes!
- Swirl into oatmeal or overnight oats
- Use as a glaze over muffins or baked goods
- Dip apple slices or strawberries for a fun twist
- Or just sneak a spoonful straight from the jar (no judgment)